How to Print on Mugs {DIY}
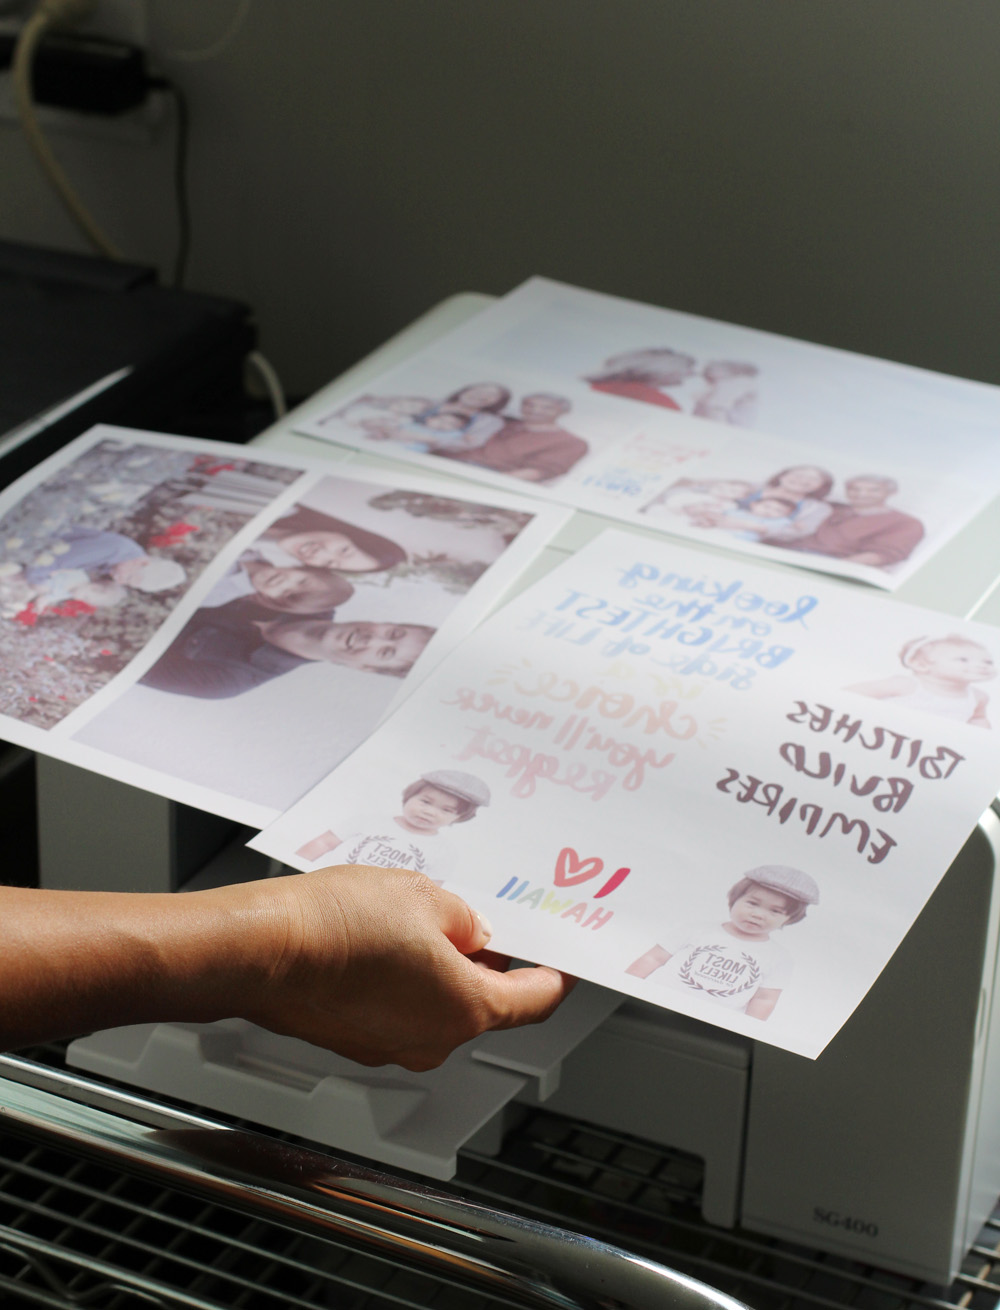
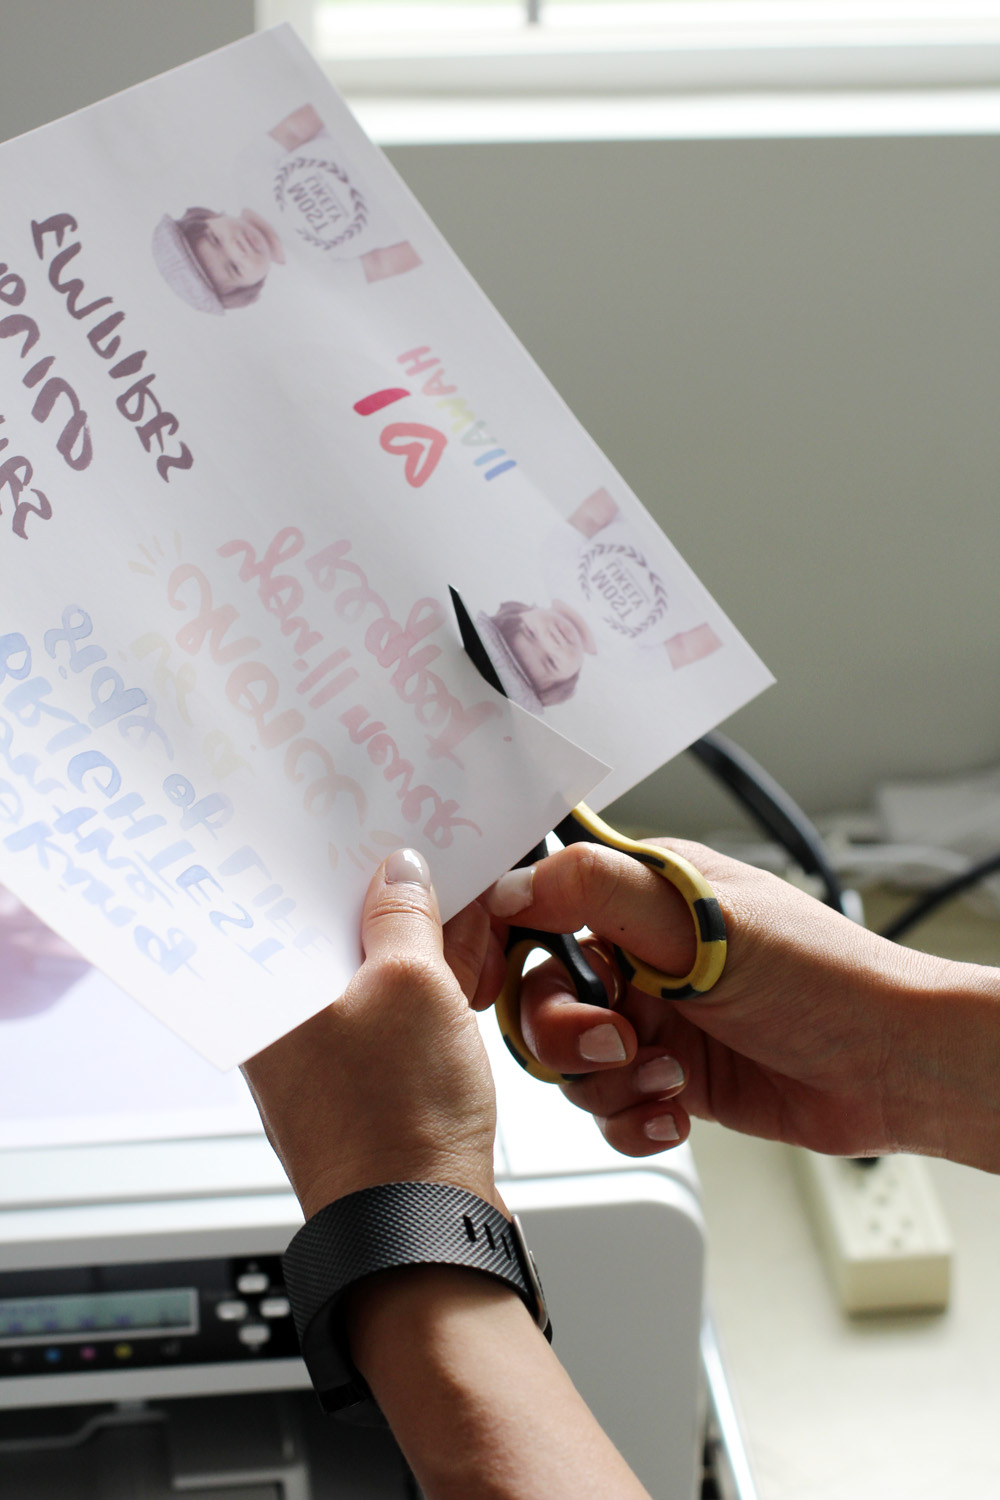
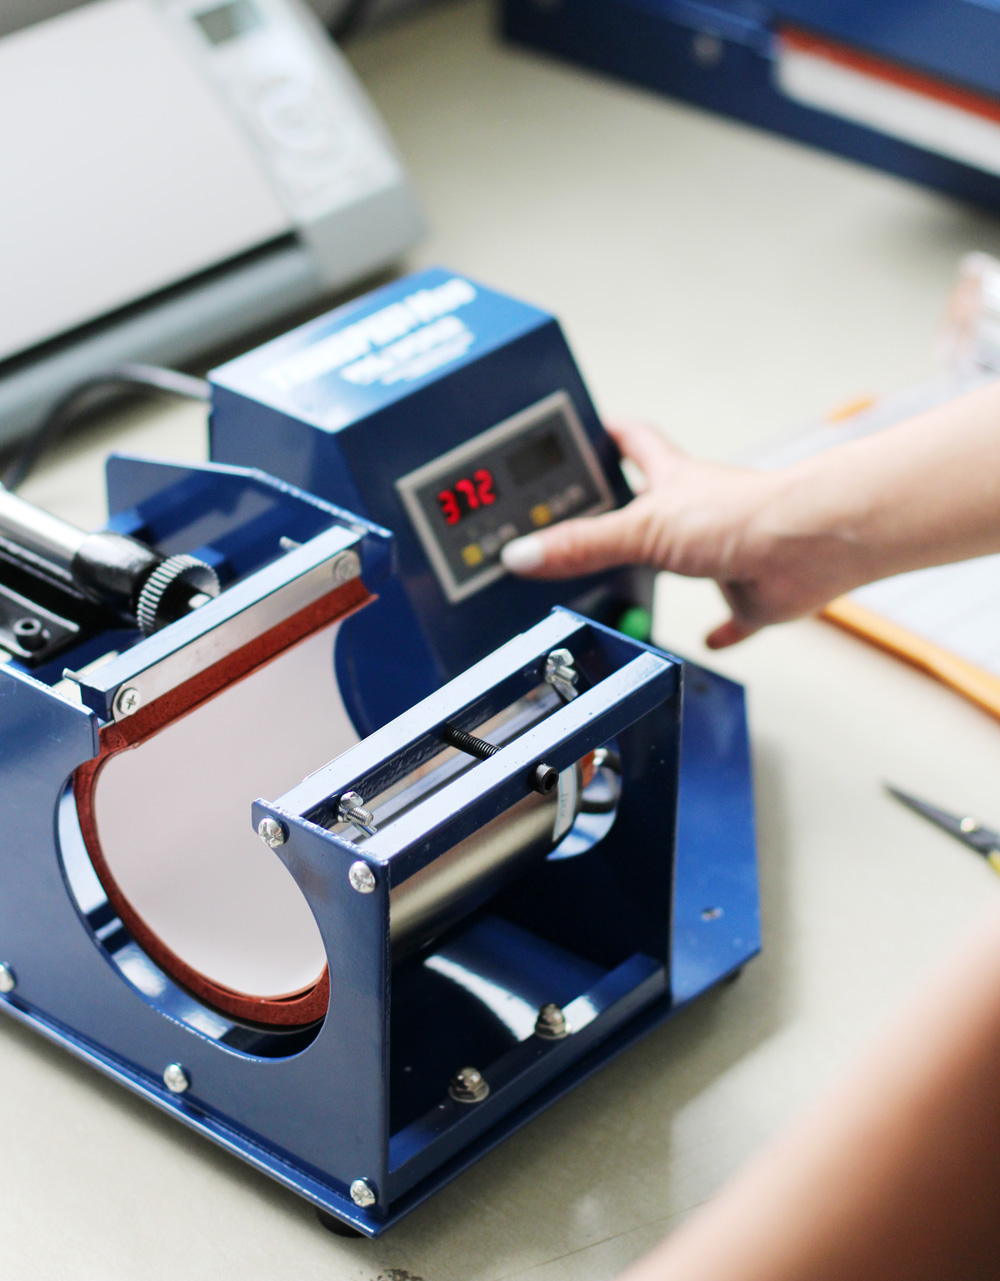
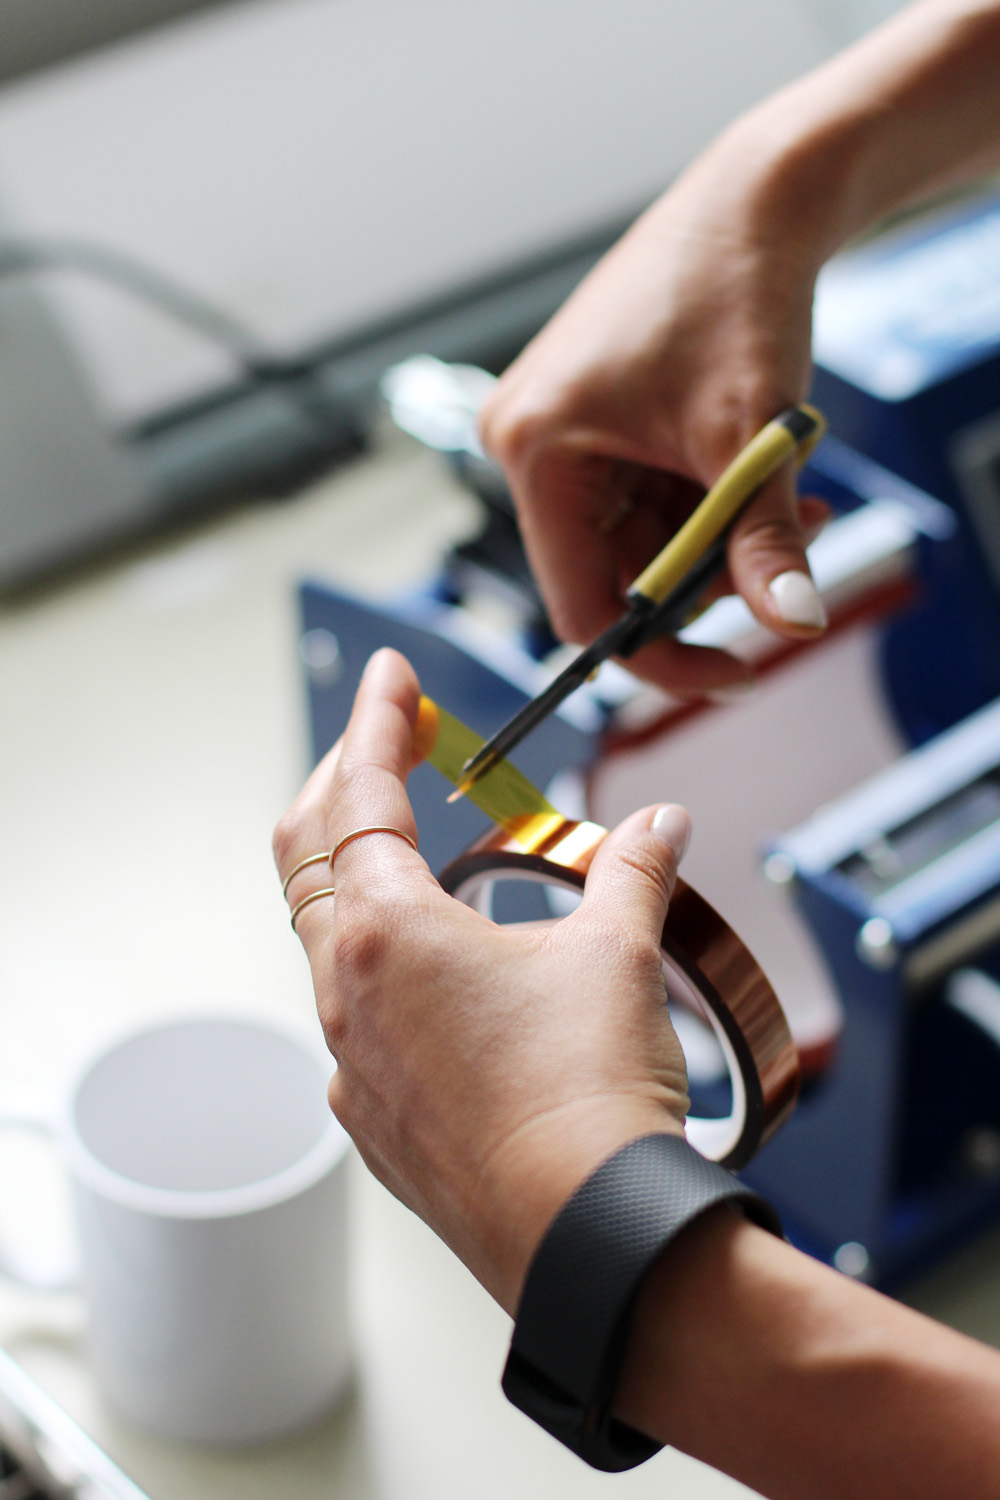
Using the sublimation printer that came in the Pro World Mug Starter Package, I printed multiple designs onto the special paper in reverse (flipped horizontally). Not wanting to waste space on the paper, I experimented with several types of images and made sure to fill up as much of the sheet as possible. I trimmed around the design - the coolest thing about sublimation printing is that you don't have to worry about trimming so close to the design to avoid anything white. When using regular iron on transfer papers and an ink jet printer, you typically have to trim as close as possible.
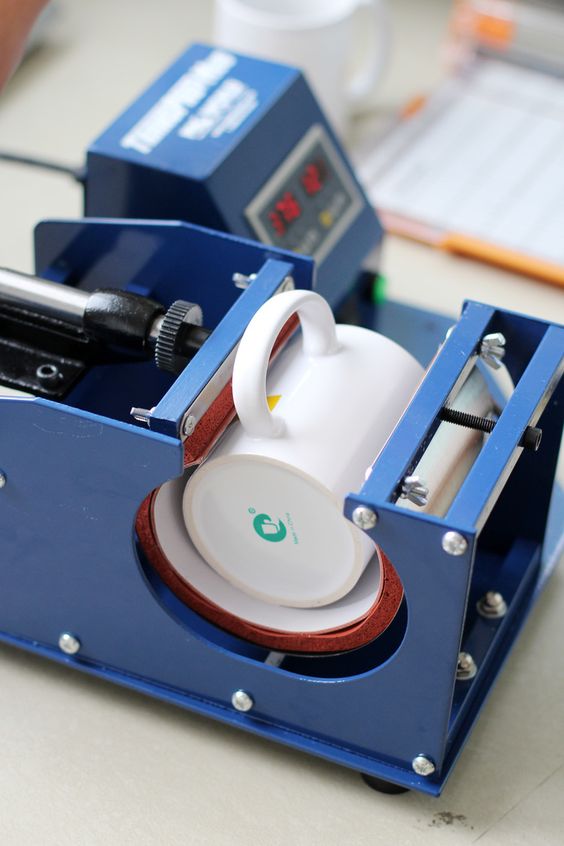
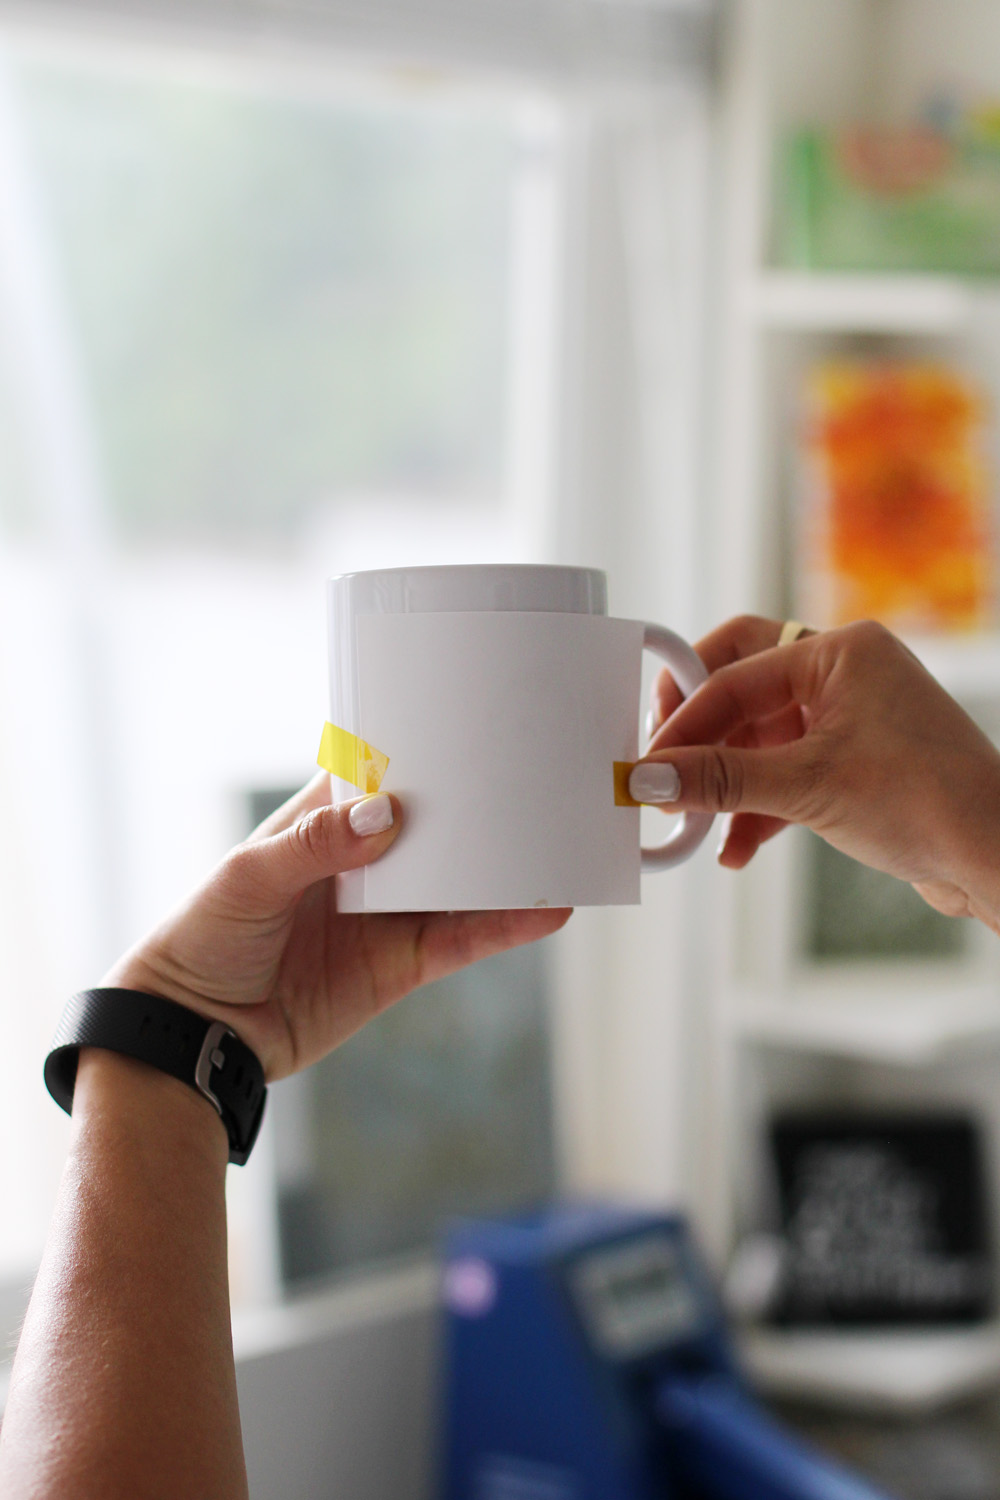
Using heat resistant tape, I attached the design face down to the mug while the mug press was warming up.
I recommend using something like an oven glove once the machine has done it's job, as the mug is still pretty hot.
Once cooled off enough, peel off the heat resistant tape. It comes off easily, but I would recommend not getting too excited about peeling it off that you burn yourself, as I almost did.


Ann-Marie and I were laughing and dying over how cute our little ones look on these mugs!
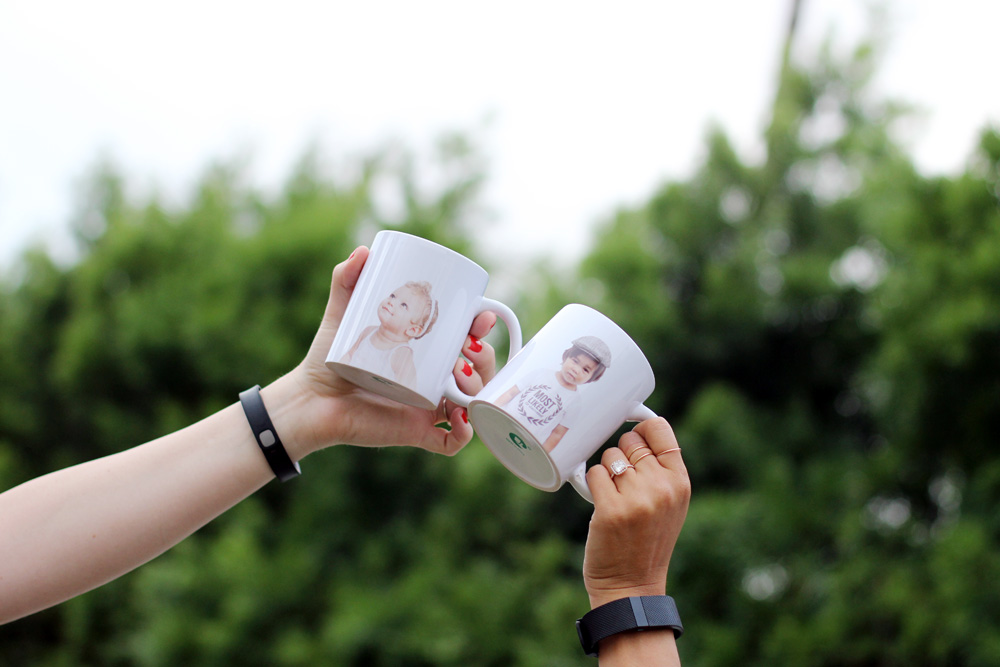
As a small business owner, I think the possibilities would be endless for promotional products. These would make great giveaways or even add-on's as part of a line. I could totally see people adapting card designs or tee shirt designs onto these mugs! What would you like to see on a mug? Comment below and I just might make one of the designs and send it to you!
Thanks for taking the time to read this post. We’d love to hear from you! Please leave a comment below and let us know your experiences with t-shirt design software.
Pin this post for later!